I recently needed to purchase an enterprise code signing certificate for a new product we are building: Support Analytics. This certificate would enable Support Analytics agents that run on Windows Phones to be deployed privately (outside of the AppStore) and into enterprises.
Purchasing the code signing certificate from Symantec was pretty straightforward. However, actually adding the certificate to our Visual Studio solution was really, really, really painful. Despite my haze, I want to document this process, and hopefully save someone from such a painful experience.
So, ideally, you already have the certificate (along with the private key) installed and it is in your personal certificate store. Make sure that you select the option to make the private key exportable (if said option is available) when you import the certificate.
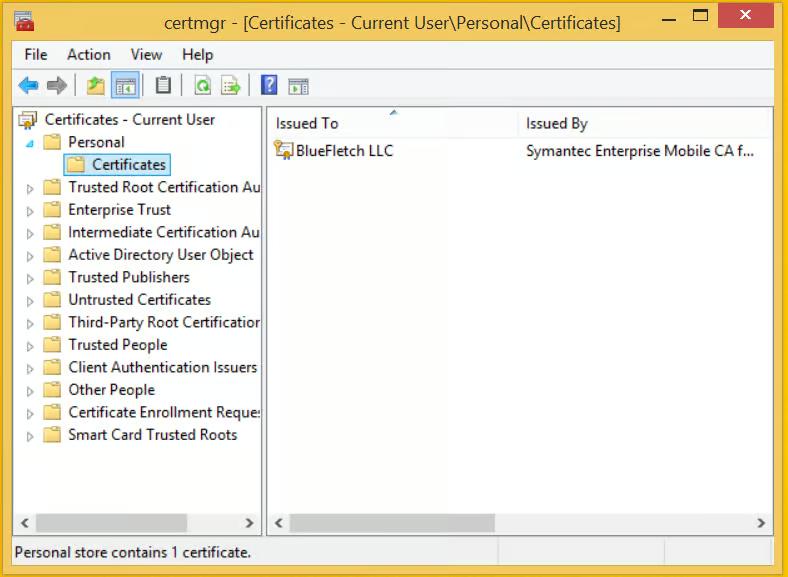 From here you will need to export the certificate as a .pfx file. In the certmgr.msc application select the certificate, next select Action -> All Task -> Export…
- Make sure to select – Yes, export the private key.
- Leave the checkbox unchecked for:
- Include all certificates in the certification path if possible
- Delete the private key if the export is successful
- Export all extended properties
- Add a password
- Specify the name of the file you want to export
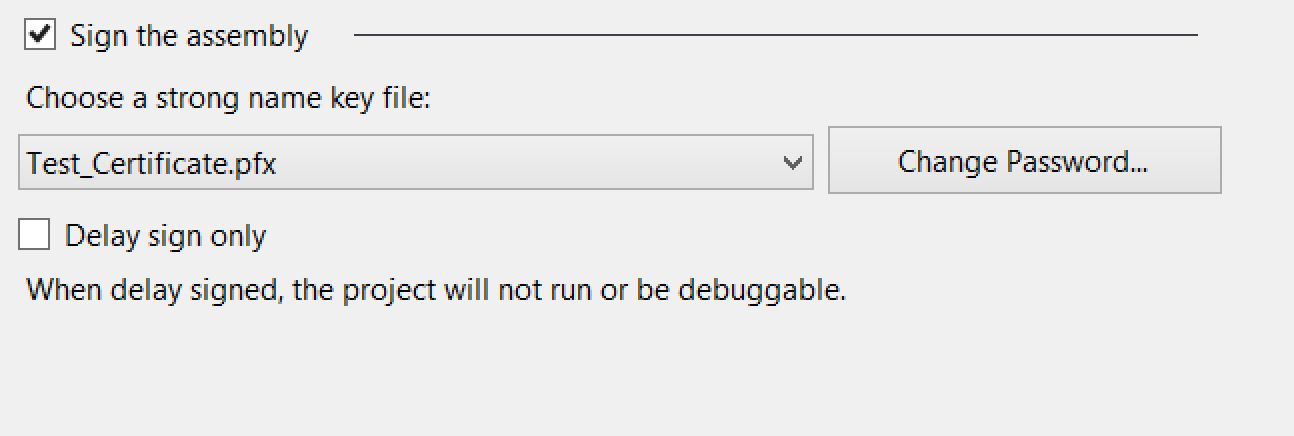
You would think that by adding the newly exported certificate to my Visual Studio Solution I could now include the certificate for assembly signing and that all would well with the world, but that is not the case:
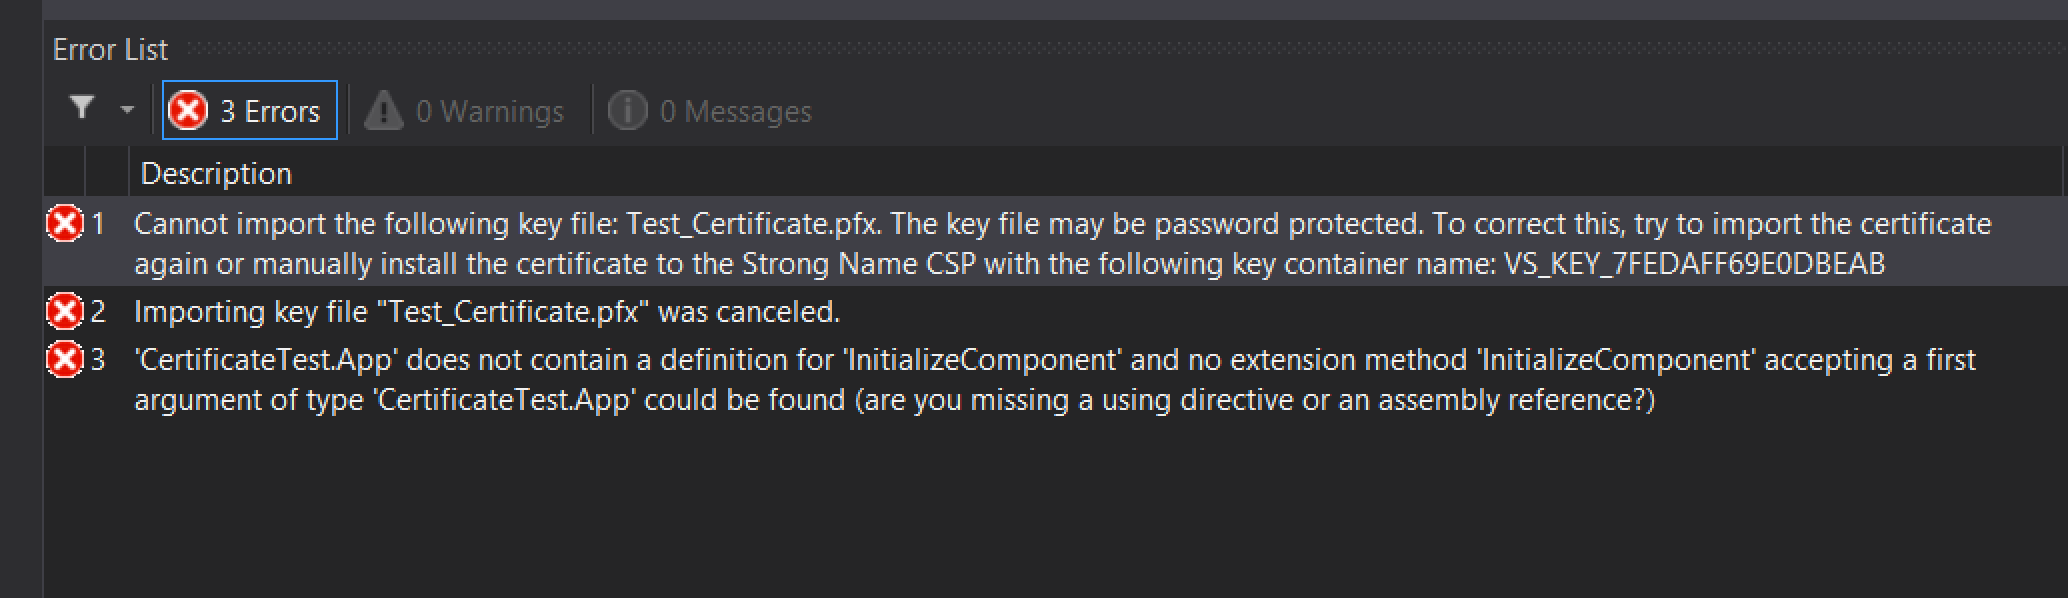
 After a quick rebuild I had the following error:
Cannot import the following key file: Test_Certificate.pfx. The key file may be password protected. To correct this, try to import the certificate again or manually install the certificate to the Strong Name CSP with the following key container name: VS_KEY_XXXX
There are a few solutions on the web that did not work for me.
- Signing the executable after the project builds was not going to work for me.
- Manually installing the cert with ‘sn -i company name.pfx VS_KEY_XXXX” did not work after many attempts.
- Using the CertUtil to change the KeySpec parameter (http://blogs.msdn.com/b/andrekl/archive/2008/01/08/strong-name-signing-in-visual-studio-2005-requires-keyspec-2-at-signature.aspx) did not work either.
What finally worked for me after a few hours of trial and error was the OpenSSL tool (http://slproweb.com/products/Win32OpenSSL.html):
- With OpenSSL installed navigate to the install folder (for me the location was C:\OpenSSL-Win64\bin)
- Then I ran the following commands in cmd:
openssl pkcs12 -in Test_Certificate.pfx -out Test_Certificate_Private.key
openssl pkcs12 -export -out Working_Test_Certificate.pfx -keysig -in Test_Certificate_Private.key
The first command exports and saves the private key from the original Test_Certificate to the Test_Certificate_Private.key file. The second command creates a new .pfx certificate with the exported private key. The new Working_Test_Certificate.pfx can be imported into your Visual Studio project and used for signing the assembly.
I hope this helps someone; feel free to reach out if you have any questions!
